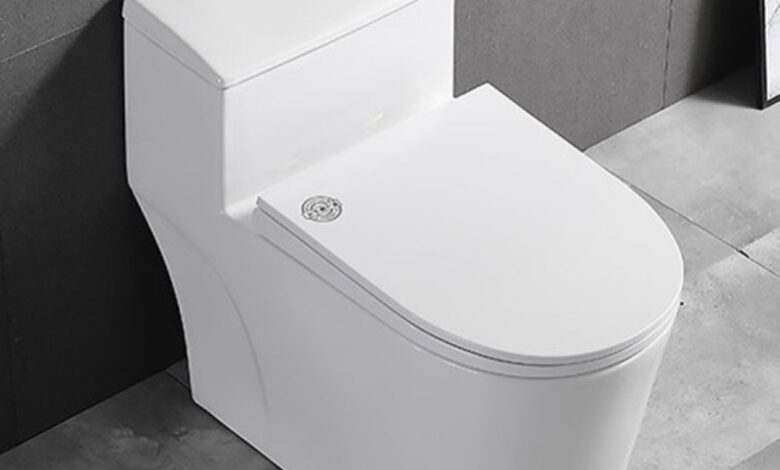
Installing a low profile toilet can be a rewarding project for DIY enthusiasts and professional installers alike. These toilets are not only stylish but also save space, making them ideal for modern bathrooms.


In this guide, we will walk you through the process of installing a low profile toilet step by step. Whether you’re an experienced installer or new to DIY projects, this guide will help you complete the installation with ease.
For those looking for advanced features, consider exploring a small profile toilet to further enhance your bathroom setup.
Step 1: Gather Your Tools and Materials
Before you begin, it’s essential to gather all the necessary tools and materials. Having everything ready will make the installation process smoother.
You will need a low profile toilet, a wax ring, a new toilet flange if necessary, a wrench, a screwdriver, a putty knife, and silicone sealant. Additionally, keep a bucket and sponge nearby for cleanup.
Make sure you have a level to ensure your toilet is installed correctly. Check that your new low profile one piece toilet includes all the parts needed for installation.
These typically include the tank, bowl, bolts, and caps. Preparing everything in advance ensures a seamless installation process.
Step 2: Turn Off the Water Supply
The next step is to turn off the water supply to your bathroom. Locate the shut-off valve near the base of your current small profile toilet.
Turn the valve clockwise until the water stops flowing. Flush the toilet to drain any remaining water from the tank and bowl.
Use a sponge or towel to soak up any excess water left in the bowl. This step is crucial to prevent water spills during the installation.
If your current toilet has a supply line connected, detach it from the tank using a wrench. Be prepared for a small amount of water to leak out, so have a bucket or towel ready.
With the water supply turned off and the tank drained, you’re ready to remove the old toilet. This prepares the space for the new low profile toilet.
Step 3: Remove the Old Toilet
Removing the old toilet is straightforward but requires some care. Start by removing the caps covering the bolts at the base of the low profile elongated toilet.
Use a wrench to unscrew the bolts, then gently rock the toilet back and forth to break the seal. Lift the toilet straight up and place it on a towel or plastic sheet to avoid making a mess.
Next, remove the old wax ring from the flange using a putty knife. Be sure to clean the area thoroughly to prepare for the new wax ring.
If the flange is damaged or corroded, this is the time to replace it. Installing a new flange ensures a secure fit for your low profile toilet.
With the old toilet and wax ring removed, you’re ready to move on to the next step. This will ensure your new toilet is installed on a clean, solid surface.
Step 4: Install the New Wax Ring
The wax ring is a crucial component that seals the connection between the toilet and the floor. Place the new wax ring on the flange, ensuring it is centered and secure.
Some wax rings come with a plastic or rubber flange attached, which can provide extra stability. If you’re using a small profile toilet, make sure the wax ring is compatible with the toilet’s design.
Press the wax ring firmly into place, but be careful not to deform it. A properly installed wax ring will prevent leaks and odors.
Now, carefully lower the low profile one piece toilet onto the flange, aligning the holes at the base of the toilet with the bolts on the floor. Apply gentle pressure to set the toilet into the wax ring.
The weight of the toilet will compress the wax, creating a watertight seal. This step is vital for ensuring the longevity of your installation.
Step 5: Secure the Toilet to the Floor
Once the toilet is in place, it’s time to secure it to the floor. Place the washers over the bolts, then hand-tighten the nuts.
Use a wrench to tighten the nuts further, but be careful not to overtighten, as this can crack the porcelain. Check that the low profile elongated toilet is level using a bubble level.
If the toilet is not level, you can adjust it by placing shims under the base. Tighten the bolts evenly on both sides to avoid tilting the toilet.
After securing the toilet, snap the bolt caps onto the bolts for a finished look. Double-check that the toilet is stable and doesn’t rock.
A secure and level installation is key to preventing leaks and ensuring comfort. This step is crucial for the toilet’s long-term stability.
Step 6: Attach the Tank (If Applicable)
If you’re installing a two-piece low profile toilet, the next step is to attach the tank to the bowl. Position the tank on the bowl, aligning the mounting holes with the bolts.
Insert the bolts through the holes and hand-tighten the nuts underneath. Use a wrench to tighten the nuts, but do so carefully to avoid cracking the tank.
Make sure the tank is level and sits firmly on the bowl. Some tanks come with a gasket that seals the connection between the tank and the bowl, so ensure this is in place before tightening.
Once the tank is secure, connect the water supply line to the fill valve on the bottom of the tank. Tighten the connection with a wrench, but again, be cautious not to overtighten.
With the tank attached and the water supply connected, you’re almost ready to test your installation. A correctly installed tank will prevent leaks and ensure proper flushing.
Step 7: Reconnect the Water Supply
Reconnect the water supply line to the shut-off valve. Turn the valve counterclockwise to restore water flow to the toilet.
As the tank fills, check for any leaks around the base, the supply line, and the tank. If you notice any leaks, tighten the connections as needed.
Once the tank is full, flush the low profile toilet several times to ensure everything is working properly. Pay attention to how the toilet flushes, ensuring that it clears the bowl efficiently.
If you’ve installed a low profile bidet toilet seat, follow the manufacturer’s instructions for connecting it to the water supply. A bidet seat can enhance your bathroom experience, providing additional comfort and hygiene.
With everything connected and functioning properly, you’re nearly finished. Testing the flush ensures the toilet is working as expected.
Step 8: Seal the Base of the Toilet
To complete the installation, apply a bead of silicone sealant around the base of the low profile toilet where it meets the floor. This not only gives the toilet a finished look but also prevents water from seeping under the base.
Use a caulking gun to apply the sealant evenly around the entire base. Smooth the sealant with a wet finger or a caulk-smoothing tool.
Allow the sealant to dry according to the manufacturer’s instructions before using the toilet. This step is important for ensuring the longevity and stability of your small profile toilet.
A properly sealed base prevents moisture damage to your bathroom floor. It also keeps the toilet securely in place, reducing the risk of movement or leaks over time.
Step 9: Final Inspection and Testing
After the sealant has dried, perform a final inspection of your installation. Ensure that all connections are tight, the toilet is level, and there are no leaks.
Flush the low profile toilet several times to verify that it functions properly. If you’ve installed a low profile elongated toilet, check that the elongated bowl is comfortable and that the flush clears the entire bowl.
Test the low profile bidet toilet seat, if installed, to ensure it’s working as expected. If everything is functioning correctly, your installation is complete.
A well-installed low profile toilet should provide years of reliable service and enhance the overall look of your bathroom. Final checks ensure long-term satisfaction with your new toilet.
Conclusion
Installing a low profile toilet is a manageable project for both DIY enthusiasts and professionals. By following this step-by-step guide, you can ensure a successful installation that will last for years.
Whether you’re upgrading to a low profile bidet toilet seat or simply replacing an old model, the process is straightforward with the right tools and preparation. The benefits of a low profile toilet extend beyond aesthetics, offering space-saving design and modern functionality.
Completing the installation with careful attention to detail will prevent future issues like leaks and instability. Take the time to do it right, and you’ll enjoy the results every time you use your new small profile toilet.
Incorporating a low profile toilet into your bathroom not only enhances its appearance but also adds value to your home. This simple upgrade can transform your bathroom into a modern, efficient space.
For further tips on maintaining your toilet or to learn about different heights of toilets for added comfort, continue exploring expert advice and guides. A well-installed toilet is the cornerstone of a functional bathroom, making this project a worthy investment in your home.
Keep an eye for more news & updates on Tech Pro Magazine!